Hosting AmazonWebShark With S3
Contents
In this post we’ll create and configure an S3 bucket for hosting a static website.
Before I start, let me say that there are numerous guides for this process online. I have nothing new to add here - this post is intended to reflect my experience as opposed to being a how-to. The AWS documentation is easy to follow and is guaranteed to be up to date, a guarantee that other blogs (including this one) can’t make. So the steps I follow here will almost definitely change as S3 continues to evolve.
With that said, let’s go.
I plan to create two buckets so I can have a Development and Live environment for the site. This will allow me to test potential config or theme changes in real-world conditions, and will also let me try out AWS services that deploy across multiple environments. The names of the buckets must mirror the websites’ domain names, and in this case will be www.amazonwebshark.com and www.amazondevshark.com (this was almost named www.amazonwebsharkdev.com - and perhaps should have been - but I really can’t leave a name like amazondevshark on the table)
First of all, let’s create and name the bucket.
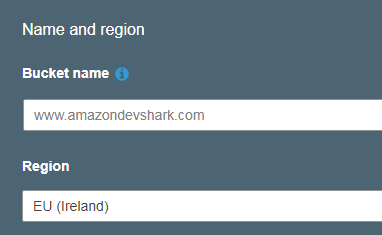
Why Ireland? Well, it’s cheaper than London, but also seems to get the new AWS services before the rest of the EU regions. (Incidentally, Concurrency Labs have a very extensive blog on the subject that’s worth a read) And while London is technically closer to me, any latency issues could be addressed with CloudFront in the future.
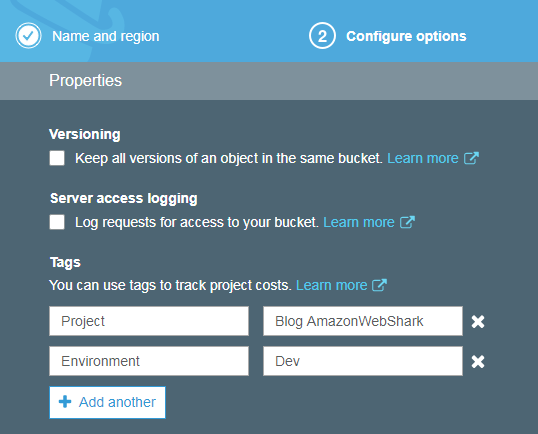
Next is configuration. Unlike the bucket name, these options can be edited at a later time. For now I’m just going to tag both buckets and move on. The Project tag will tell me what the buckets are for, and if I want to drill down further then the Environment tag will let me separate them into Dev and Live
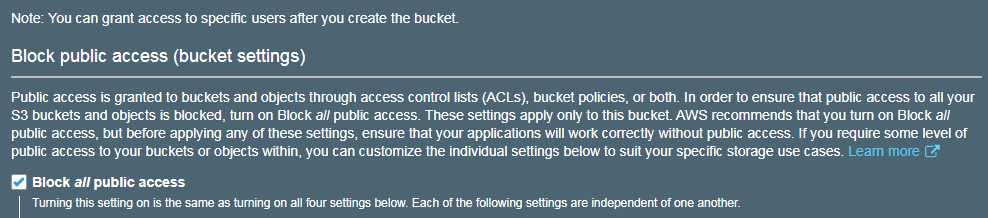
Next is setting permissions. Remember when I mentioned S3’s evolutions before? This is one of them. AWS have set all S3 buckets to block public access by default:
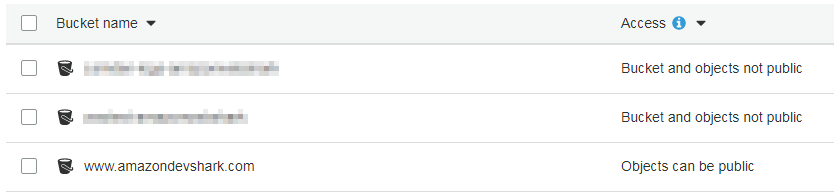
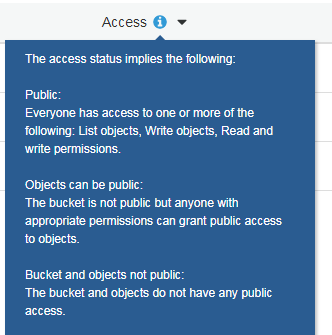
This is a relatively recent change and was likely the result of a number of data breaches involving S3 misconfigurations in recent times. Blocking public access is absolutely the right thing to do when storing personal data, but in this case we need the bucket’s contents to be accessible to the wider world, so here the tick in Block All Public Access needs to be removed. Once this is done and the bucket is created the S3 dashboard is displayed again, and there’s a clear difference in the Access column between the buckets I already had and the one I just created:
But what do these statements mean? Let’s dig deeper:
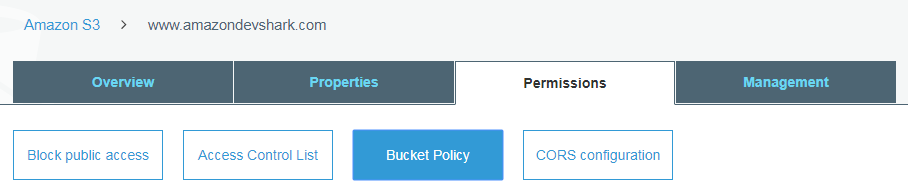
So that’s not ideal. We could go through each object at a time, granting public access permissions to each one. But there’s a quicker way - updating www.amazondevshark.com ’s bucket policy. For this we need to access the bucket overview, then go to the Permissions tab and click Bucket Policy.
Bucket policies allow users to manage advanced permissions to the bucket in question using JSON. Handily the AWS documentation includes a bucket policy that achieves most of what we need:
1 2 3 4 5 6 7 8 9 10 11 12 13 14 15 16 |
{
    "Version": "2012-10-17",
    "Statement": [
        {
            "Sid": "PublicReadGetObject",
            "Effect": "Allow",
            "Principal": "*",
            "Action": [
                "s3:GetObject"
            ],
            "Resource": [
                "arn:aws:s3:::example-bucket/*"
            ]
        }
    ]
} |
But what does all this mean? Well there’s a great page at The AWS Insider that breaks down each line of the above, but for our immediate purposes the policy boils down to:
[Allow] [*] [s3:GetObject] [aws:s3:::example-bucket/*]- Allow everyone to get objects from the s3 bucket called example-bucket (all objects)
Most of this is fine except the bucket name, so the line arn:aws:s3:::example-bucket/* needs changing to arn:aws:s3:::www.amazondevshark.com/*. Saving this immediately produces some more changes:
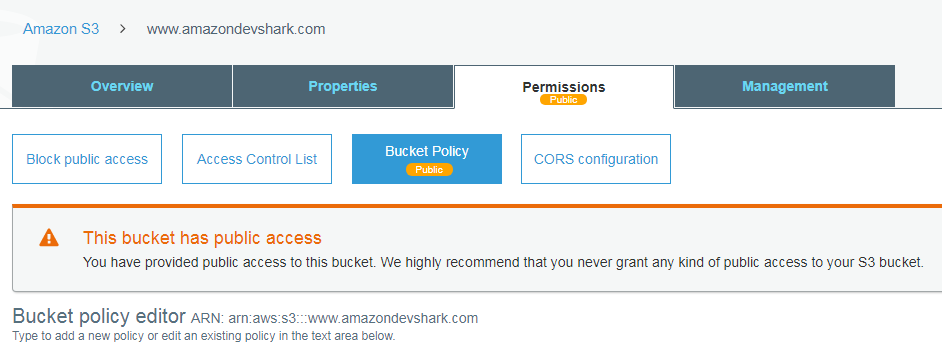
AWS are leaving you in no doubt at this point - everything in that bucket is now accessible to the Internet. There’s nothing in there yet though, but before anything is uploaded there’s still one more step to do. Access the bucket’s properties and select Static Website Hosting.
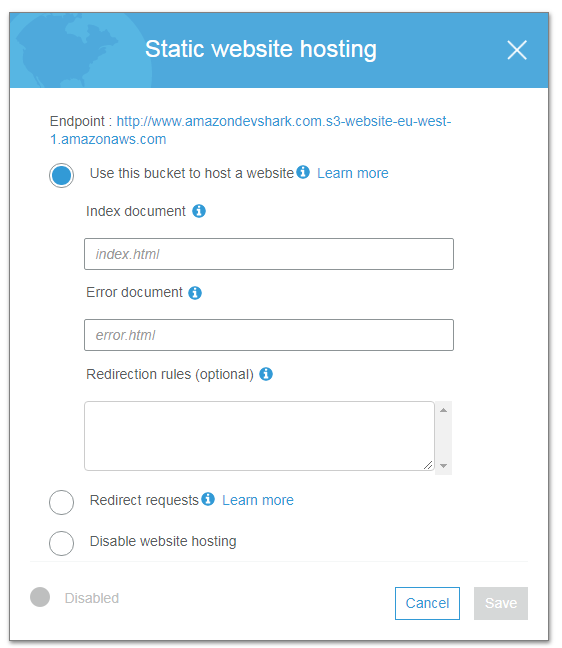
This screen offers an endpoint hyperlink, but clicking on it at this point produces an error:
1 2 3 4 5 6 |
404 Not Found Code: NoSuchWebsiteConfiguration Message: The specified bucket does not have a website configuration BucketName: www.amazondevshark.com RequestId: 59553C8F99BE091B HostId: PCllvdaWafvPXXEniyOfDWW/BBYyf93BSqt5wNp2/u+lN0dF6YnDTXm7JL8DXfQ4JYFJUi8zhrE= |
AWS need to know the names of the index and error documents as part of this process. These are available in the public folder created in the last post, specifically index.html and 404.html. With all this done, visiting the S3 dashboard shows the bucket is now fully public:

The endpoint is still showing an error, albeit a different one now:
1 2 3 4 5 6 7 8 9 10 |
404 Not Found Code: NoSuchKey Message: The specified key does not exist. Key: index.html RequestId: 3DD771ABD3D9154E HostId: xX44SXp9zIHiEDs9tahJR54M3OnvOKrI8o6oCkdu8jl4xAIxGeW17ghEg12vtw9dk+pRN3p+gio= An Error Occurred While Attempting to Retrieve a Custom Error Document Code: NoSuchKey Message: The specified key does not exist. Key: 404.html |
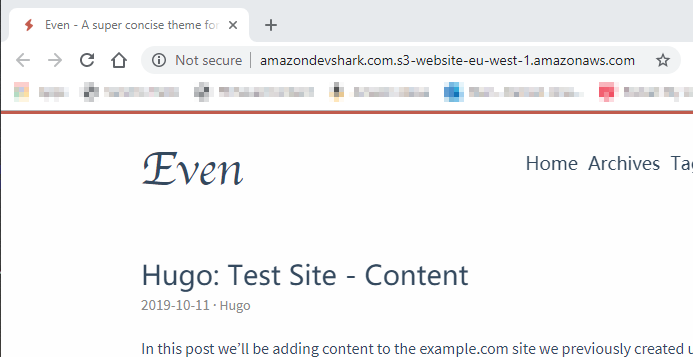
This isn’t surprising - there’s nothing in the bucket for it to display! So let’s fix that by uploading the contents of the Public folder in Hugo’s amazondevshark.com folder to the www.amazondevshark.com S3 bucket. And this time when the endpoint is called:
As a regular site:
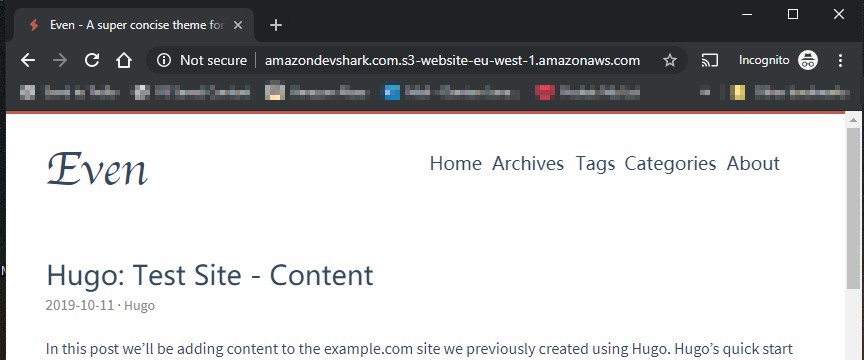
In incognito:
And via mobile:
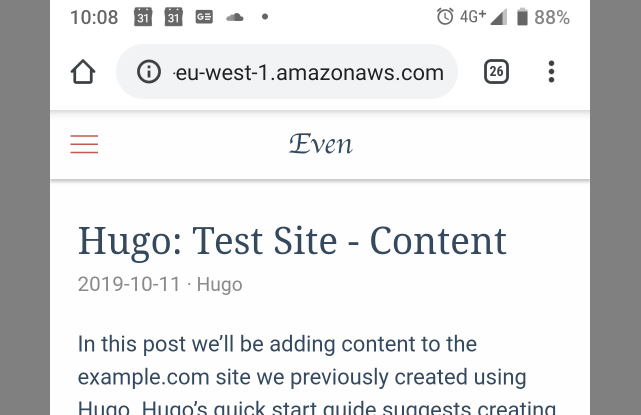
There are still things to fix of course - the blog’s title, tab metadata, header and footer are still set as default for instance, but we have a working site! A site with no server or database dependencies, a site backed up by S3’s eleven nines of durability and high availability and, crucially, a site that will cost a fraction of the price to run when compared to a similar setup using EC2 and RDS.
Thanks for reading ~~^~~
Author Damien Jones
LastMod 2019-10-18